Thursday, June 30, 2011

Studio tour – part two!

Thank you so much for your positive feedback about both my new studio space, and my new blog-look! You really know how to make a girl’s day!


I have made a few changes to my blog which I hope you will find useful. If you would prefer to receive my posts via email or RSS feed you can now do so. The buttons for both are situated on the top right of my side bar. My blog address is also different – I am now a “Dot Com” instead of a “Blogger Dot Com”… but don’t worry if you still visit me via blogger – you will be redirected automatically. It’s all good stuff!!


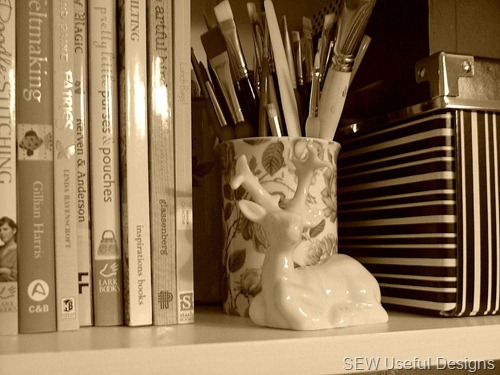
Studio reindeer vignette sepia


We’re on the countdown to school holidays here in Victoria, with only two more days to go before the kids are home for a couple of weeks! For me, that means making the very most of my serenity *giggle* which has been easy to do these past few days since losing my voice!! But every cloud has a silver lining… at least I don’t have to listen to the sound of my own dulcet tones! My singing voice always sounds SO MUCH better when I’ve got headphones on… but better for everyone all round when I can’t sing at all!! I find it hilarious that I can evacuate a room after uttering just a few notes!!


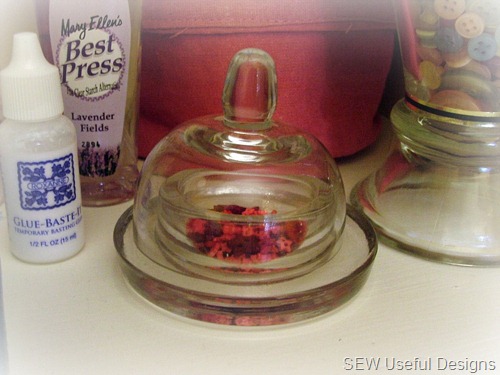
studio domed voltive pic


Would you like the second instalment of my studio tour!?


Studio cabinet


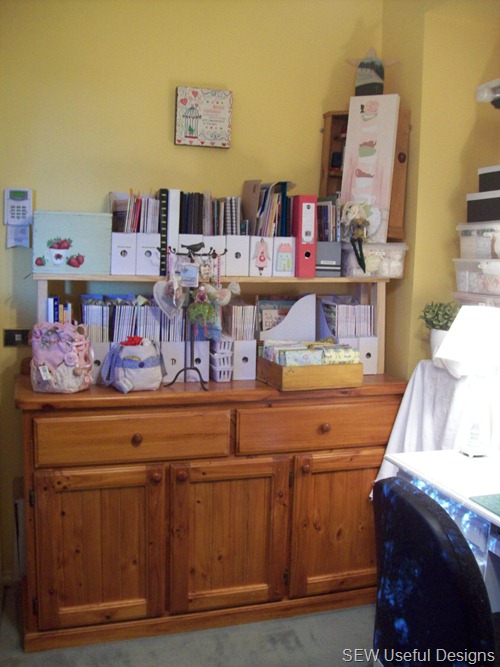
On the left-hand side of my desk is a pine buffet containing UFO’s, paints and paper crafts, and other tools that don’t necessarily get used on a regular basis. One drawer contains finished magazine projects (to keep them dust-free) and the other is devoted to the creation of fairy dolls! There are batiks, yarns and different kinds of ‘skin’ fabrics together with an array of other ‘sparklies’ for making iridescent wings!


I also use the space in front of the buffet to put up my ironing board when I’m working on projects that require a lot of pressing. It’s great to just swivel my chair, lower the ironing board to my level, and then swivel back to my desk to continue sewing, without having to leave my seat. Although I’m not getting the exercise from walking to the kitchen to use the facilities, it sure is a good time-saver!


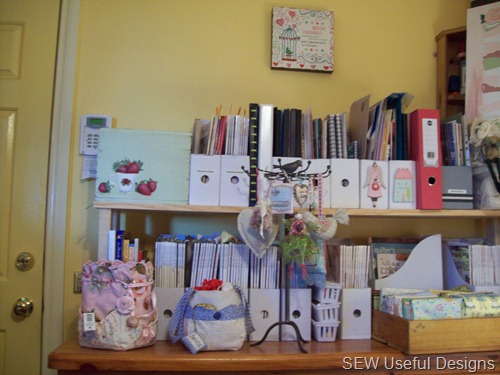
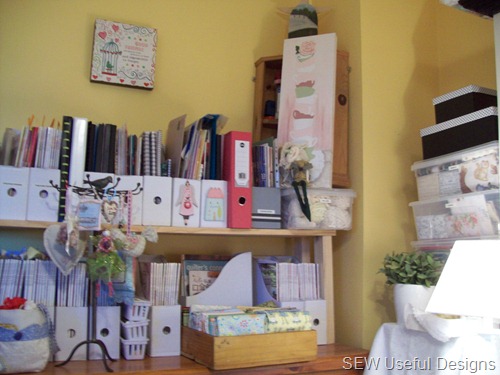
I unified the colour of my magazine holders so with the exception of one, they are all white. They house my collection of Australian Homespun magazines, plus pattern books, painting books and business information.


Studio fabric storage


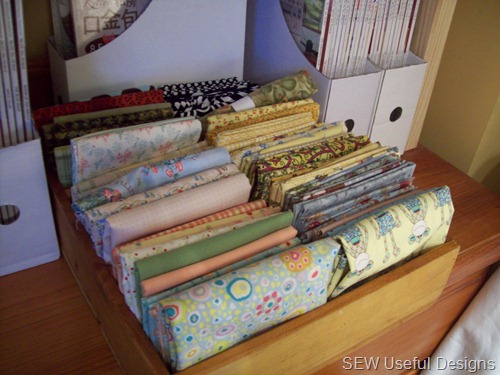
I have always loved how quilting shops display their fat quarters and wanted to recreate something interesting at home as best I could. What you see above is a small wooden shelf/cabinet that I’ve placed on its back so there are two columns to store fabric. You can see this shelf/cabinet in the final photo of my last post – sitting on the shelf above my desk.


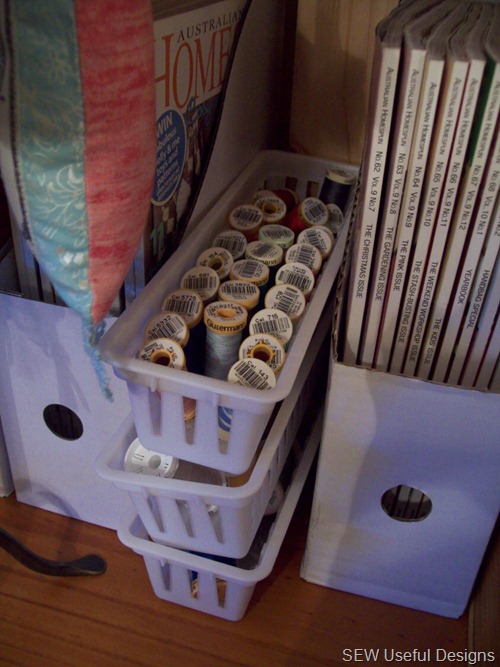
Studio thread storage


I keep my sewing threads in these wee plastic tubs purchased for a couple of dollars from a two-dollar shop!


Studio surround 2


The pretty wooden painted shabby box on top left of my shelf can be seen in more detail in this post. I store my paints within. The two sewing totes contain trims and needlework projects. You can read more about them here and here. The picture on the wall was gifted to me by a dear friend and I love how the birdcage in the picture ties in with the wren perched on top of the iron stand! The door on the left leads out to our garage so I try and keep the walkway clear – not always easy!!!


I needed somewhere to showcase all the gorgeous hanging gifties that I’ve received from creative friends over the past few years and found an iron “bird stand” very cheaply in a two-dollar shop (pictured centrally in the above photo). I am yet to get a decent close-up shot of it!


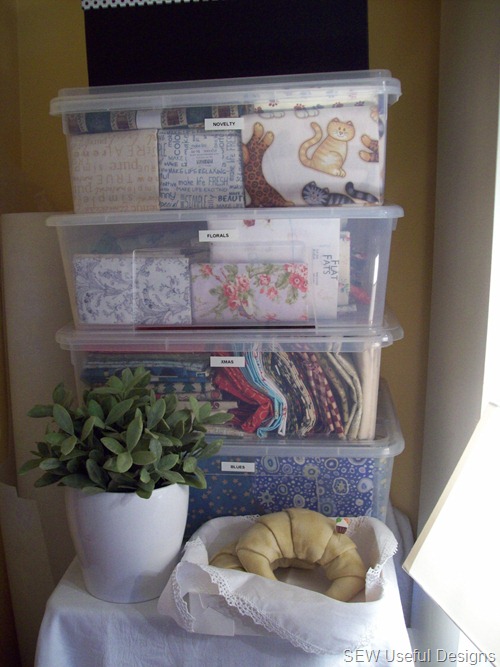
Studio fabric tubs


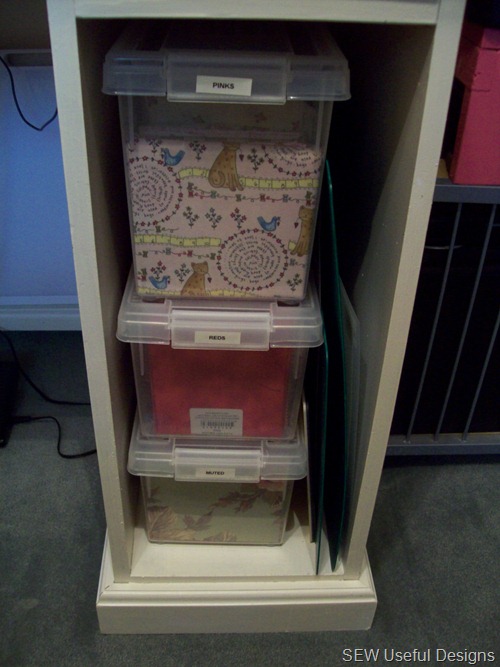
There is a plastic storage system in between my desk and the buffet. I covered it in a large remnant of white tablecloth fabric so that the scheme would remain neutral and look tidy. My fabric tubs are all labelled… and I have added a plant for some greenery. I have to admit – the plant is plastic! I’ve always considered plastic plants rather vulgar, preferring the healing qualities of the real deal… but this one looks SO real…and I didn’t want to be getting my fabrics wet while watering! So I cheated!!


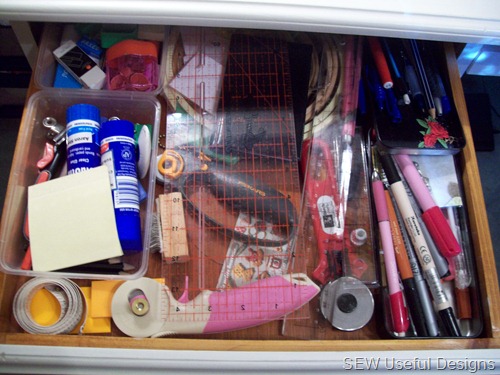
The great thing about purchasing an office desk was that the drawers were already set up with dividers. the narrow top drawer houses my rulers, rotary cutters and stationary:


Studio top drawer


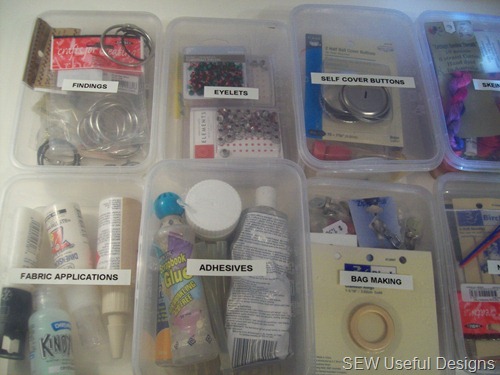
The second has dividers in it, probably for CD storage. They are just the right size for housing fat quarters, but I needed to store my sewing essentials. I discovered that plastic storage tubs (the kind that are used to contain fast food) were the perfect size. You can buy them so cheaply at just $2 for a pack of four! I’m also a bit of a label-queen. I label anything I can get my hands on – so don’t stand still for too long!!! I might just get ya!!


Studio second drawer


Quilting gloves, measuring tape, plug for the light box and of course, the infamous labeller are kept in the left divider. Here’s some of the rest:


Studio plastic tub storage 2


I haven’t photographed my bottom drawer, it has hanging files and contains my own designs, patterns and business information.


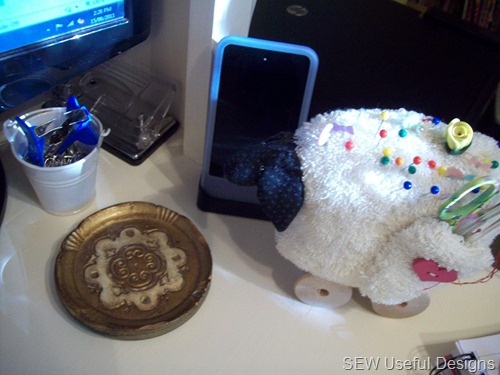
Lastly, in front of my monitor sits my treasured pincushion which you can read more about here. I keep paperclips in the wee white metal bucket that I picked up from Spotlight last Easter. My IPod station is plugged in here too, so I can listen to my favourite tunes while I sew.


Studio ipod station


It has taken me about three months to get this space organised. I tell you this because I can quite often be a “jump in with both feet” kind of a person! Honestly, If I’d had a crystal ball at the end of last year I would not think this transformation possible. But it is! By looking for bargains in sales and opportunity shops (that’s how this all came about in the first place) and realising the potential in everyday items, and repurposing what you have… it doesn’t have to cost a fortune to transform a space. Thrifting and planning have certainly been my two best friends during this process!


All of the nick-nacks I have shown you (lamp, storage tubs, CD boxes, magazine holders, cake stands, shelves, iron bird stand etc…) and the desk and paint for it – have together cost me less than $250. It sure has been a lot cheaper to get the studio of my dreams than I thought it would be!


So there you have it - Dreams DO come true - I hope that yours do, too!!


Till next time! Hugs! Vikki xx
Monday, June 27, 2011

My new studio space!

It is absolutely amazing what a difference your surroundings can make to your creative energy!


I share my creative space with my husband (aka Mr SUDs) and teenage son, Aaron. The boys are both computer junkies and have half of the “study” designated to their favourite hobby. For years I had been calling this shared room, “ The teenage boys’ Den” and in doing so, as I realise now, had alienated myself from feeling like I belong.


Studio buttons shelf vignette pic


Fortunately I realised the errors of my ways and have since re-named this room: “My new studio” – of course it is still shared – but gee it makes a difference to my sense of worth in this space!


However, I really did need to make my craft area work for me. It was cluttered and ‘busy’, I found it hard to concentrate on what I was doing and longed for a room all to myself as I thought that would be the answer to my ‘perceived’ problems. A room to myself was not an option – but thinking about the situation in a positive way - was! Determined to make the most of what I had, I set to work on a list of all the things that were important to me in order for the space to be successful. First on the list was an uncluttered, neutral working area. Secondly, storage; and thirdly – it had to look serenely beautiful.


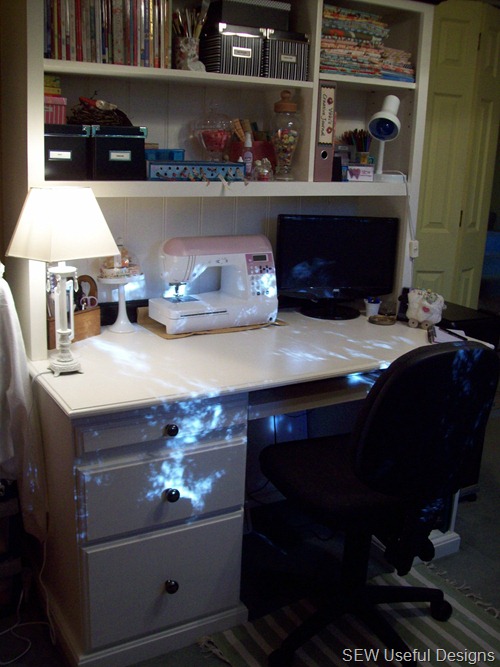
The seeds of my ambition started to grow a few months back when I purchased a pre-loved desk from my local charity store. It was love at first sight! A bit of TLC was all that was needed, I gave it a sand-down and a new lick of paint and it was as good as new! I have utilised every bit of space I have – and the desk is working really well for all of my needs.


Let me put the kettle on and make you a virtual cup of tea…. and then I’ll take you on a tour! Are you sitting comfortably?


Studio desk shot


The ‘new studio’ is in a room situated at the front of our house. The room has large full-length windows along one wall. I took down the net curtains, as we are not overlooked, and wish I had thought to do it years ago. The sun shines through the trees outside at about 2pm and the shadows and sunbeams dance across my desk. It’s so magical! Being the fairy-fanatic that I am, my imagination goes in to full fantasy overload at this time of the day! It is like the room is living and breathing!


The studio also functions as a walk-through to the garage; a traffic route which is unavoidable. So I need to keep the space tidy on a daily basis to ensure that the access is clear and fabrics do not get trampled! I keep the majority of my fabrics and battings stored in big plastic tubs in the laundry.


Studio desk 1


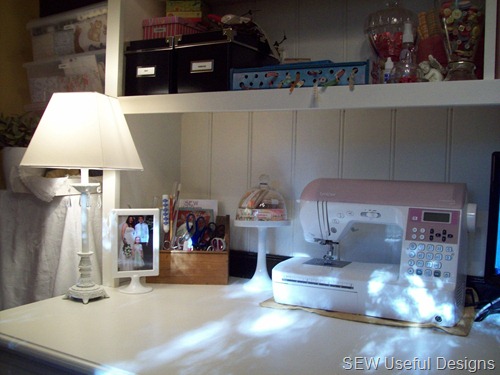
I wanted a classy, “grown up” look that was neutral – so that my fabric choices did not get confused with the colour of my surroundings. A white desk was a must, and for the ‘grown up’ element I wanted to add a classy lamp. I searched everywhere for the lamp of my dreams and finally found the perfect base in Target (in the sales), and the lampshade in Bunnings. The total cost was less than twenty dollars – cheaper than any I’d seen in charity shops, and exactly what I’d envisioned. You can’t see very well from this photo, but the lamp has four little (ahem – plastic) diamonds hanging down from the top of its base! (Plastic diamonds? See, I told you I was classy!!!)


Studio desk vignette


Studio desk left


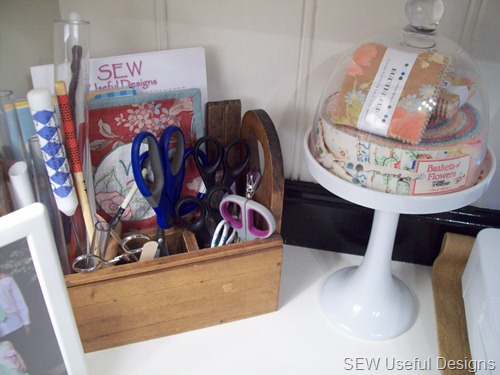
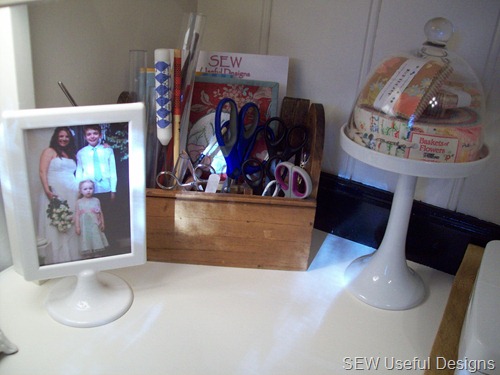
I picked up the wooden storage box at an op shop, it has heart cut-outs in each handle. I was going to paint it antique white until I realised it was made out of my favourite wood, walnut. I keep my pens, scissors, and other useful everyday tools, in this box. The cake stand serves as a pretty fabric display – the perfect size for a honey bun! A girl needs “pretties” to inspire her as well as functionality. I picked up a lot of ideas from Karen at Sew Many Ways, and the photo-frame idea was one of them. To keep track of all your passwords (for fabric stores, etc.) just print a list and add it to the back of this two-sided photo frame. The frame costs two dollars from IKEA. Check out this post for more information.


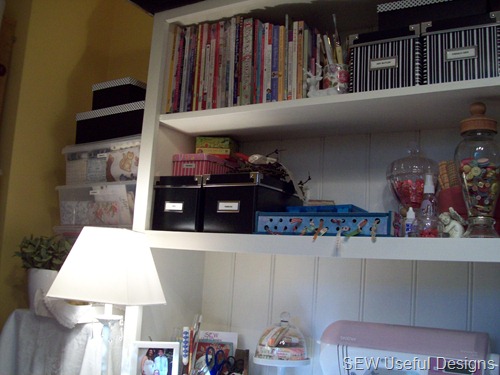
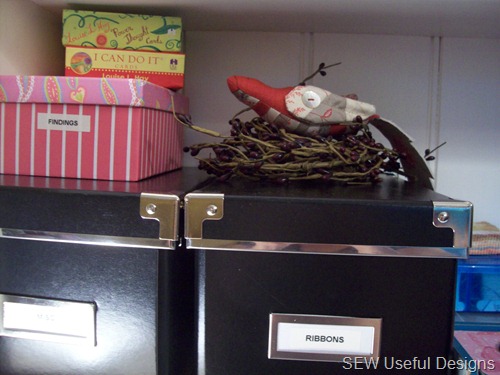
Actually, I have been hugely inspired by Karen – she is the personification of “the ideas girl” – so amazing! She has the most wonderful studio, check it out here. One of the things I took on board was Karen’s suggestion to purchase storage solutions in a limited colour palette. By keeping to one or two colours, it doesn’t matter how many different ‘types’ of storage you have available, it all has something in common to tie the design scheme together – its colour. I chose black and white as my base colours, and purchased said-colour CD storage boxes from IKEA. I also picked up some gift-boxes from my local two dollar shop, as you can see on top of my transparent fabric tubs on the left of this next photo.


Studio view left


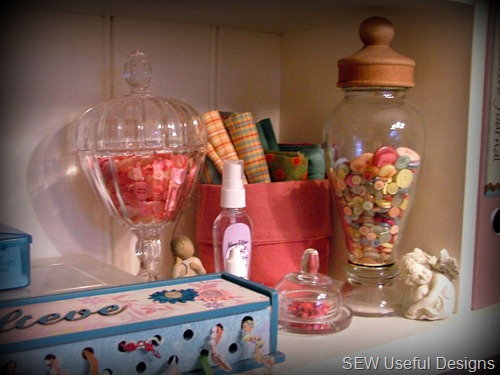
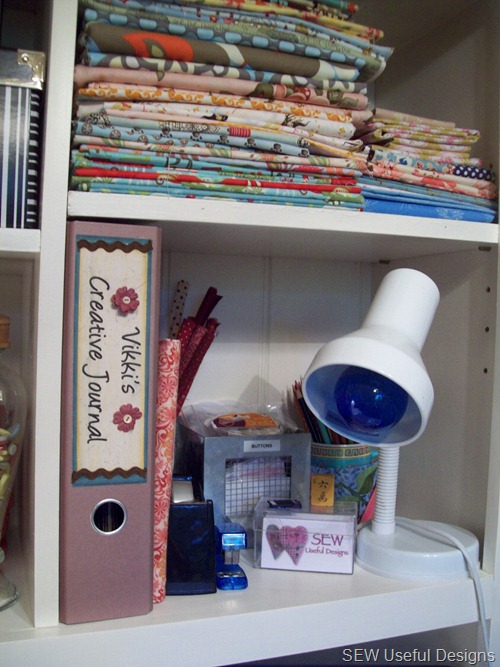
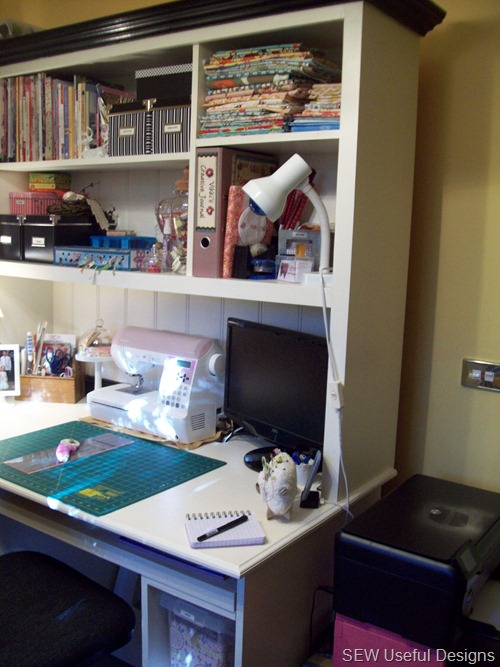
The shelves are used for book and fabric storage, plus some buttons, notions, paintbrushes and a few other pretties!


Studio left hand shelf


Studio bird vignette


I have ambient lighting from my ‘classy’ desk lamp, overhead lighting, and task lighting from this functional lamp that utilises a daylight bulb.


Studio top right shelf


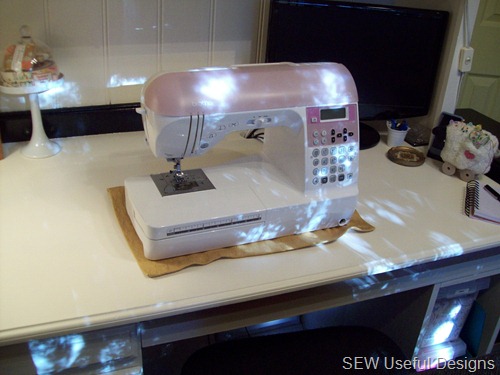
My sewing machine is constantly plugged in, the cables are out of the way and it’s as easy as just pulling it forward…


Studio sewing machine working


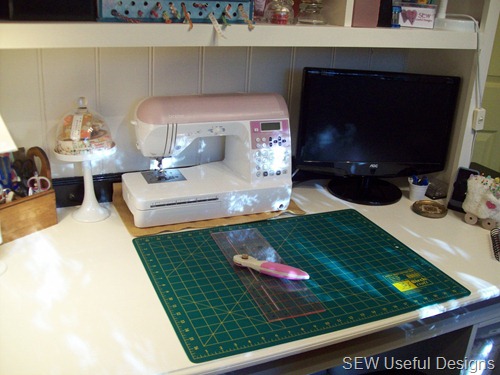
If I need to cut fabric, I push the machine back and set up the cutting mat…


Studio cutting mat


I store my cutting mats, template plastic (and three huge fabric tubs) in the desk space beside me allocated for the computer… because I use a laptop (I’ll show you where that lives in a minute) the disused space is an ideal storage solution.


Studio fabric stacking


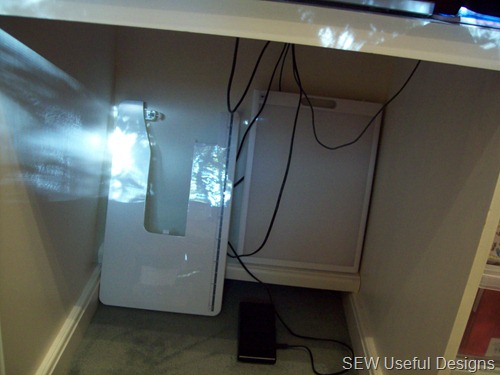
Under my desk there is dedicated storage for my light box and sewing-machine table:


Studio under desk


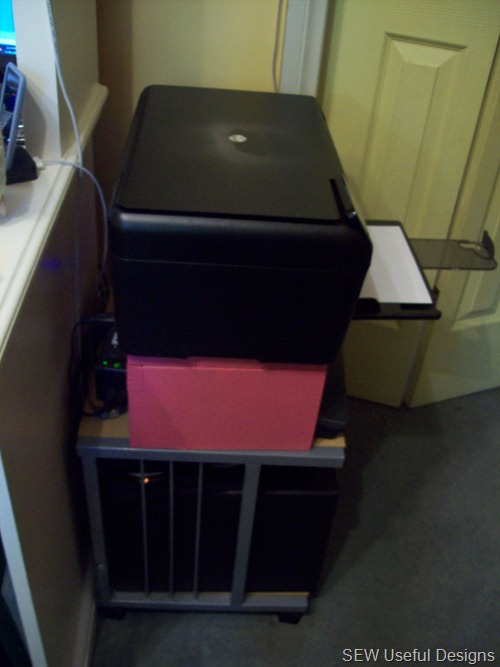
My laptop is situated on a small printing table beside my desk, on a bright pink shelf that used to be on my old desk. On top sits the printer, and beneath is a cabinet containing printing papers and filing.


Studio desk 2


Studio printer side on


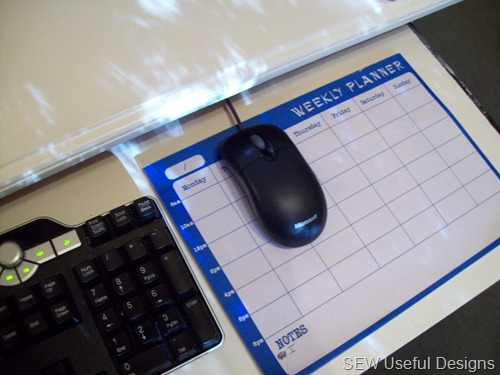
Even my mouse-mat is functional! A pad of weekly planners that can be torn off each week to reveal a new page.


Studio weekly planner


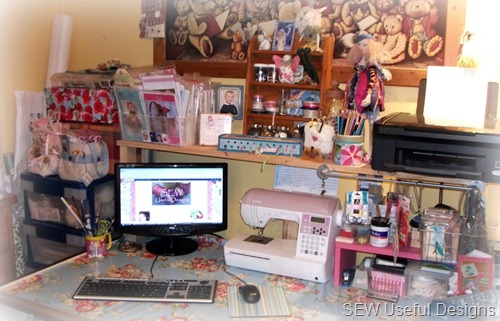
To my left is a plastic storage system and pine buffet where most of my everyday tools and fabrics are kept. I will share more photos of that part of the room in my next post, together with some other storage solutions. In the meantime, here’s a photo to give you the lay of the land.


Studio surround 1


If you are new to my blog, this is what my space looked like before the transformation:


craft desk 1


An eclectic (ahem… overstimulating!) arrangement don’t you think?!!


I hope you enjoyed the tour?! It has taken me a while to get things how I’ve wanted them, and I’m really glad I didn’t rush it. It’s a compact space but it works really well for me. I used to wish for a studio space of my own, but having thought on it a lot, even if we could afford to do it right now, I’m not sure that I would actually want to be in a room away from my family. That feeling has been a real eye-opener for me. When the boys are noisy, I will put my headphones on. When I need to concentrate, they will put their headphones on! Now that I have a serene space in which to work, I feel so much more relaxed and happy – and its certainly helping with my mojo – which has been bursting from its seams of late!


It seems only fitting to quote Karen’s motto: “The happiest people don’t have the best of everything… They just make the best of everything they have.”


Lots of love to you all! I’ve finished my virtual cup of tea and just about to sip on a real one!


Till next time! Vikki x


Thursday, June 23, 2011

A girl’s just got to share!

I have a couple of exciting things to share with you, my friends!

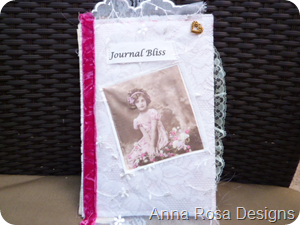
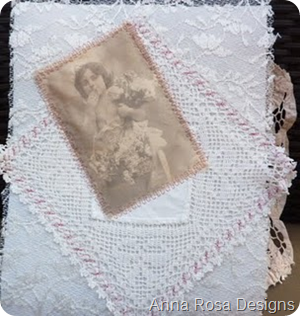
Firstly, my lovely friend Anna over at Anna Rosa Designs is celebrating her 100th blog post and is celebrating with a gorgeous giveaway.  Anna and I started blogging at the same time and share something (I should say, someone) very special in common – our friend, Kerryanne!  Kerry not only set up our blogs for us but she put me and Anna in contact with each other, and as the old saying goes, I haven’t looked back since!

So if you haven’t done so already, head on over and say Hi to Anna – she’s a fabulous artist and her giveaway prizes are delicious!  There are two prizes - that consist of multiple items!  Here’s a couple of teasers… the giveaway is open until 5th July.

Anna journal 1

Anna journal 2

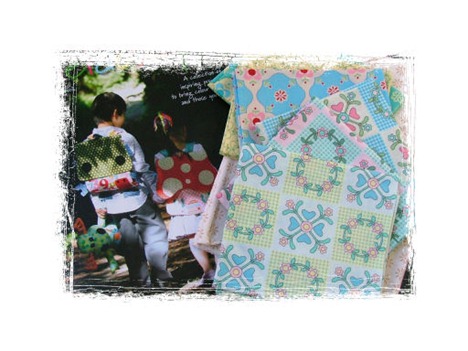
The second thing I’d like to share with you is a book and fabric sale over at The Mulberry Tree.  I purchased the Kaleidoscope book by Melly & Me, and eight fat quarters and it cost less than thirty dollars (excluding postage).  Mulberry sale

Mr SUDs has the day off work tomorrow and we are having a rare day out together, and I’m really looking forward to it!

Till next time!  Vikki xo  :-)

Wednesday, June 22, 2011

A little bit of everything…

The last two or three weeks have been a hive of activity!


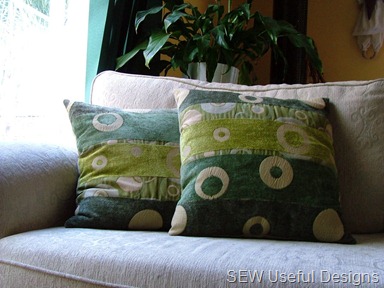
Cushions were made for the family room…


cushions picnicked


My little Preppie participated in her very first school performance, singing three Abba songs, and I cried with pride!


Two birthday parties meant two egg & spoon races!


Egg and spoon race


Three patterns have been written – one for charity - and two for an Australian craft magazine. Here’s a sneak peek!


Xmas project sneak peek pic


Unfortunately we’ve all had coughs and colds over the past few weeks, the kids have been off school quite a bit which can’t be helped. It’s actually quite nice having them around even though I don’t wish them to be ill.


I have been organising my studio space too… I’m so excited about it and can’t wait to share some pics with you! I’m all fired up! You know that butterflies-in-the-tummy feeling you get after you’ve been to a craft or quilt show, or are just about to start a new project? Yep – that’s me!


Excitipated!


What do you get excited about???

LinkWithin

Related Posts with Thumbnails